For several years my 1996 Nissan pickup with a KA24E engine had been rattling upon startup. When it first began, the rattle was subtle and went away within a second or two after startup. After a few years, the rattle was quite loud and lasted for about 5-6 seconds after starting. The rattle would never be present if the engine was warmed; this was only a cold start problem. After just a bit of research I found that this is a common issue with the KA24E engine: the timing chain tensioner loses its ability to hold tension after the engine cools, causing the timing chain to rattle against the chain guide when starting. In some extreme cases people had reported that the timing chain had actually worn a hole in their timing cover behind the coolant passage leading to the water pump, causing catastrophic damage. I certainly didn't want this to happen so I decided to address the problem. Additionally the truck had developed a small coolant leak so I would also be fixing another issue with no additional work on my part. For reference my pickup has about 144,000 miles on it and has been well cared-for since new, using nothing but Mobil 1 full synthetic oil since 30,000 miles.
I'm not going to give complete instructions on this process but instead give the highlights from my experience. The procedure itself is well documented with the best writeup I found located here: Timing Chain replacement on KA24E - Infamous Nissan - Hardbody / Frontier Forums
Removing the radiator, fan and belts was relatively easy. I also moved the steering pump from its bracket but did not disconnect the hoses. There is a leak around the fluid return line but I decided that would be a problem for another day. Once I removed the valve cover I was able to confirm that the plastic has disintegrated from the stationary chain guide but the chain had NOT worn through the metal part of the guide. Whew!
Removing the oil pan revealed where all that plastic from the chain guide had landed.
I had purchased a timing chain replacement kit from Amazon.com, although I decided there were a few parts I would not use from the kit:- I sourced a new timing chain from my local Nissan dealer as I definitely didn't want to risk my engine to a non-OE chain.
- Research revealed that using the same type of hydraulic chain tensioner would allow the problem to return, likely a bit sooner than the factory tensioner lasted. Many people use a ratcheting tensioner and I decided to go this route as well. I purchased the tensioner here: Nissan KA24E Self Adjusting Tensioner (12 valve SOHC engine) | Martin Industries
- After inspection both can chain sprockets looked to be in great shape so I decided not to replace the factory sprockets
After more disassembly I found the source of my coolant leak to be cracking hoses and corrosion around the hose nipples.
Removing the timing cover itself wasn't too bad. I made sure I was careful not to damage the sealing surfaces. If you look you can find a few areas that allow you to pry the cover without damaging those surfaces. Once removed make sure to get all the factory sealant off the timing cover and the engine block, otherwise you'll likely have leaks after reinstallation.
The timing cover uses bolts of various sizes; be sure to keep them in order!

I was able to find new coolant passage nipples for the thermostat housing but others had to be reused. I also stripped and painted the PCV cooler.

After cleaning the re-used parts I started putting things back together. During this entire process it is critical to ensure that the cam and crankshaft are not rotated, otherwise you risk your timing being off. Even though the OE chain had indicators to properly align the chain to the sprockets, I still counted links just to be safe. I found the indicators to be accurate.

There are two things I learned when installing the timing cover that I hope will help anyone reading this:
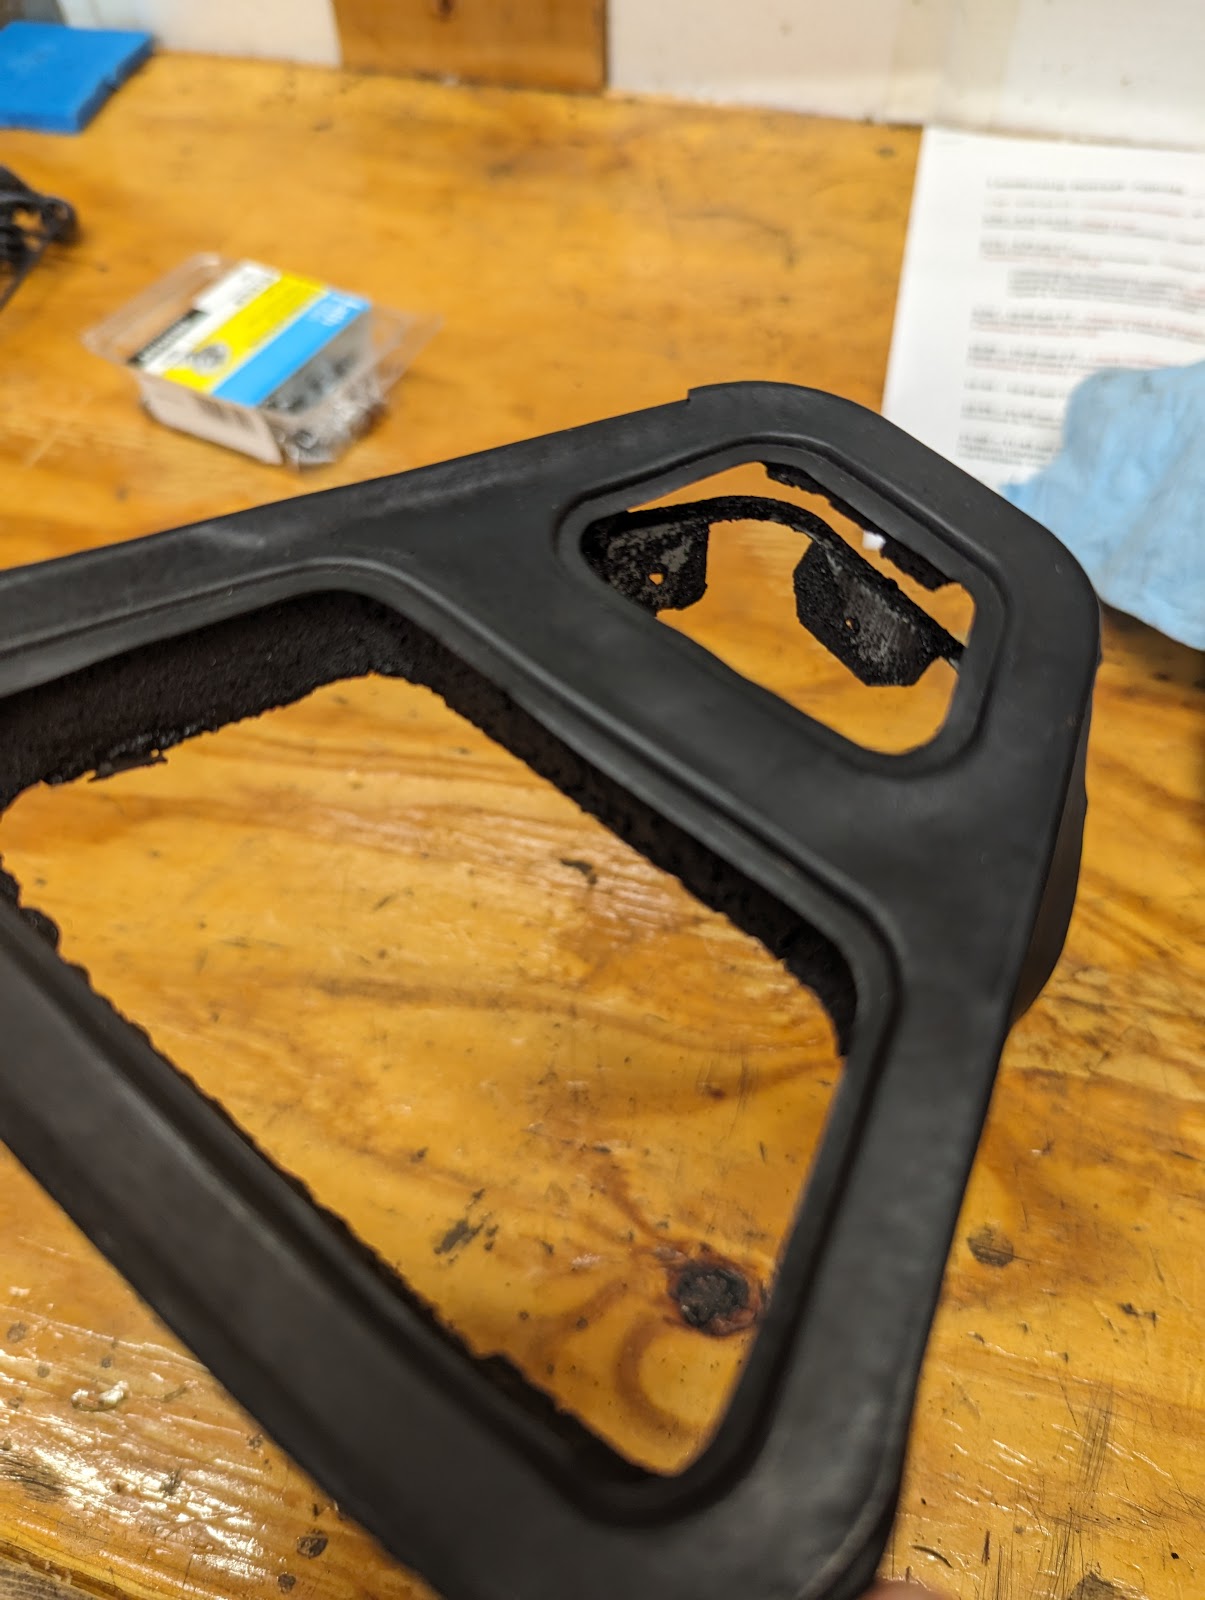
1) The two oil passage gaskets located on the passenger side of the cover can easily move during installation! After my first installation attempt I had to pull the cover and clean the gasket material from the mating surfaces because one of them had not only moved but became damaged. Luckily I had a spare. Use some grease or even a VERY SMALL amount of RTV to keep them in place and check them during and after the installation process. You can see that the lower seal moved completely out of its location for me and I was lucky enough to see this when inspecting from the underside after installation.
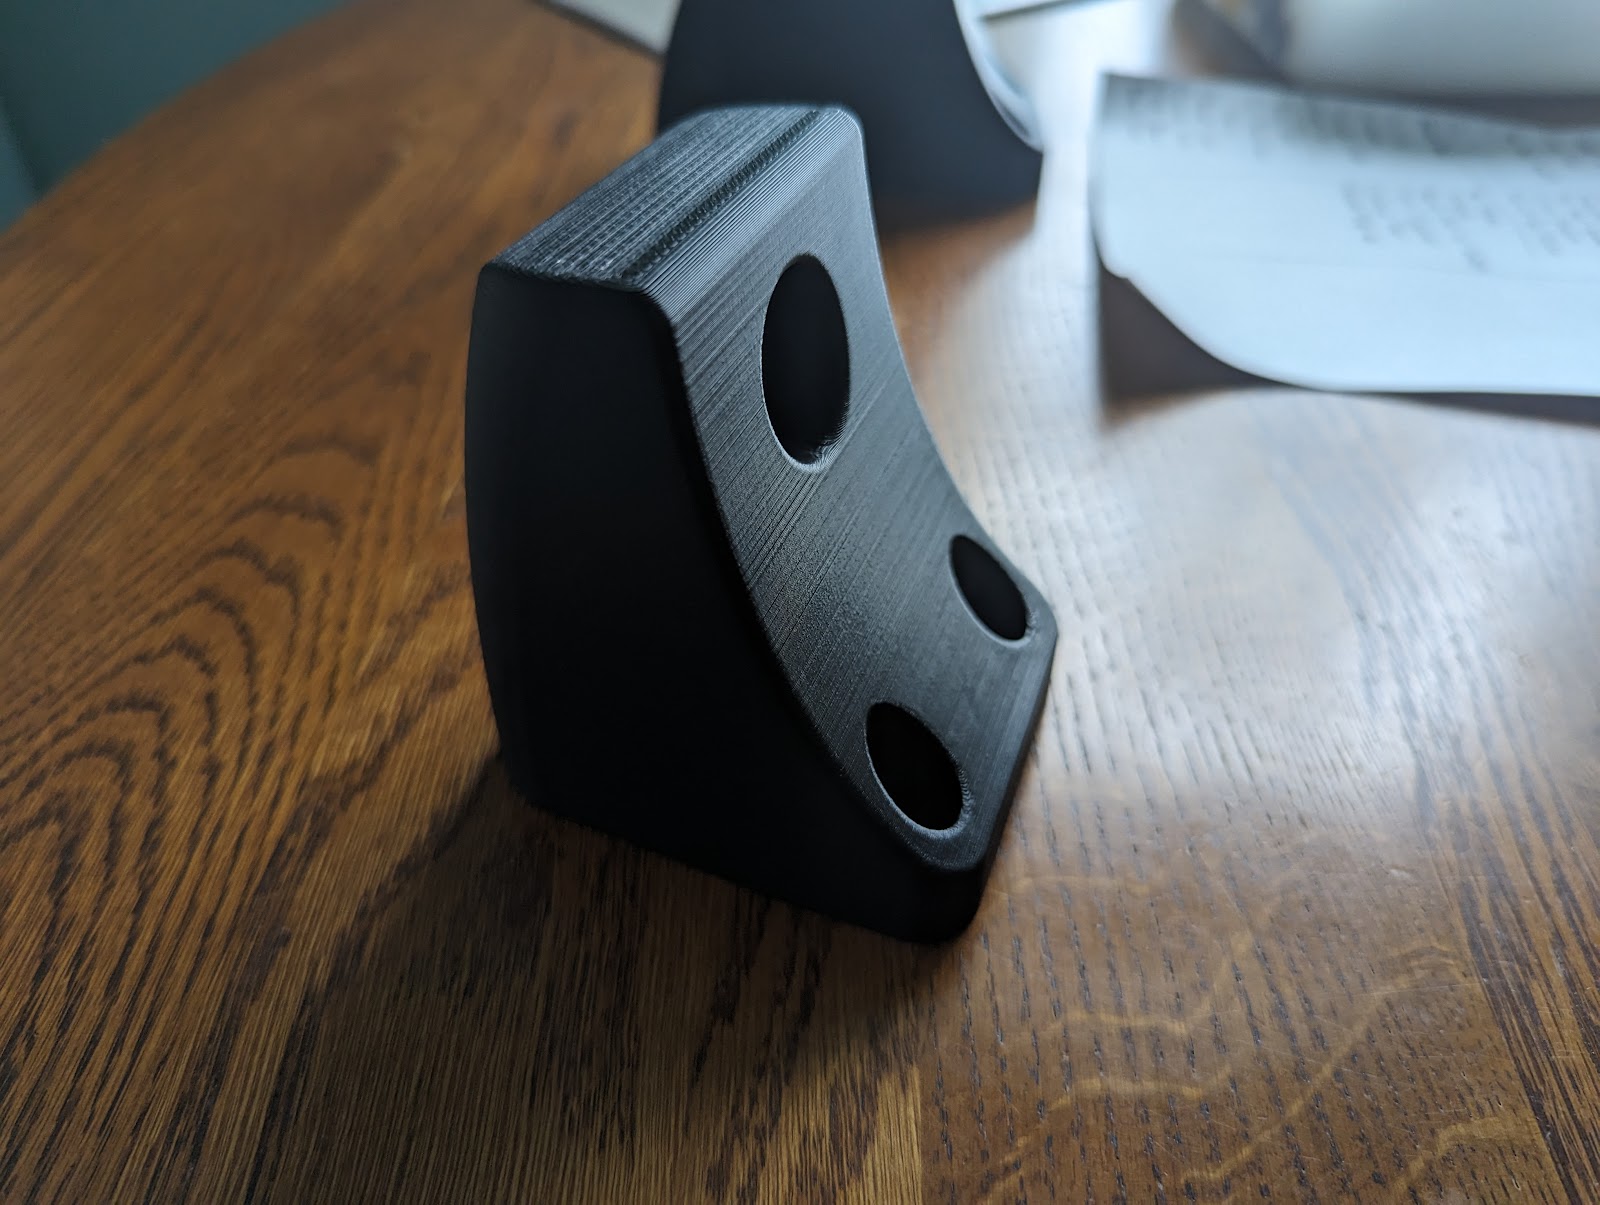
2) If you are like me, you decided not to pull the head for this process and you were lucky not to have damaged the head gasket during the removal of the timing cover. Like many, on my first attempt to reinstall the timing cover the head gasket started to "pull" towards the engine. To prevent this from happening I on my second attempt I did two things: a) Use a small amount of lithium grease on the timing cover side of the head gasket to allow the cover to slide on the gasket without causing it to bunch. b) I fashioned two "keys" that I slid into the top timing cover bolt holes to keep the gasket from moving.

If you followed the instructions in the above writeup on InfamouseNissan.com the rest of this process should be fairly straightforward. I was worried about lining up the distributor with the timing shaft but that wasn't an issue for me. I did also replace my oil pump since I was here even though there was no sign of issues with it. I was able to obtain the part straight from Hitachi way cheaper than through the dealer. I also installed a new water pump and thermostat inlet.

During reassembly I also replaced every vacuum hose I could get my hands one, one at a time to ensure I didn't route anything incorrectly. There was only one hose I couldn't reach on the underside of the engine and I think I'll be able to replace it when I later replace the clutch and rear main seal.
After reassembly I spun the starter for about thirty seconds without the plugs installed to build oil pressure before letting it run on its own. When I drove it for the first time I had a knocking sound that ultimately I thought was the oil passage to the tensioner filling with oil. The sound went away after driving for about ten minutes. On the first oil change after completing this repair I sent a sample for used oil analysis. Thankfully there were no excessive metals in the sample and no sign of coolant in the oil! There were high levels of silicon which are to be expected since I used RTV to seal the timing cover and oil pan.
For anyone experiencing the dreaded rattle of death on your D21 pickup with a KA24E engine I hope my experience can help you avoid problems if you choose to tackle this issue.