It was a morning of great conversation and great rides with all cars making their first hStreet appearance.
Sunday, September 15, 2019
The View from hStreet
On Saturday, September 14th we had another hStreet Cars and Coffee. What made this one special was the view from the top floor of the Capital View parking garage!
Tuesday, September 3, 2019
Throttled Up
The throttle linkage assembly on my 280z had always been somewhat of an eyesore in my engine compartment. Recently I decided to do something about it.
Removing the linkage was pretty straightforward and entailed a few bolts, a nut, e-clips and a cotter pin.
Using mostly wire brushes on a drill as well as a Dremel, I removed 40 years of gunk from the pieces and prepped them for painting. To simulate the look of the cadmium-nickel plating, I use a Rustoleum product called Metalizer in the color of Champagne Mist. While it's not a perfect match to the plating, the color is pretty darned close. The below picture shows an area of the linkage that was not painted since it slides into the pivot assembly. Since this area was behind a rubber boot it was fairly protected and retained much of it's original plated finish. You can see below where the painted area meets the plated area.
Once the paint had cured the parts were greased where appropriate and returned to their home. Another small item off my punch list.
Monday, September 2, 2019
Solid Distribution
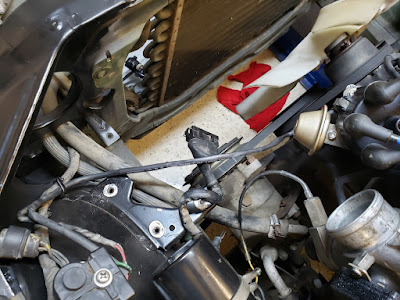
At some point (likely during the engine swap by a previous owner) the distributor in my 280z was swapped for a later unit; this was a common modification. One thing that I didn't appreciate was the way in which the trigger wires were spliced using acorn-style crimp connectors.
Not only is this style of connection susceptible to loosening over time but the way this particular splice was performed left the connection open to the elements and corrosion. I removed the radiator for maintenance so I decided to clean up this splice while the area was open.
To properly splice these connections I first cut the connectors out and removed a good bit of the brittle sleeve over the wires. I then slid larger heat-shrink tubing over the old sleeve to act as the outer layer of protection. I then slid individual heat-shrink tubes over the individual wires to cover the joints once soldered. The next step was to strip and solder the individual wires.
I slid the individual heat-shrink tubes over the wires and used a heat gun to set them. Note the glue on the edges; I just discovered this type of heat shrink tubing and it is now my preferred protection for wires.
Finally, I moved the outer tubes into position and set them. This gave me a splice that is not only protected from the elements but also requires a close look to determine that it is not as delivered from the factory.
Subscribe to:
Posts (Atom)


