Sunday, December 9, 2018

LED-lights for the win

The final step in the migration to LED for my 280z was to install new headlights.  There are several options out there for 7 inch LED headlights; the fact that most modern Jeeps also use this size of headlight definitely keeps the aftermarket manufacturers busy.  I wanted to retain as much of the stock look as possible, which ruled out the plethora of "bug eyed" units; those lights that had several smaller lights in a grid pattern.  After some research, I ruled out the halogen reflector and LED bulb combination as it required modification to the 280z headlight bucket and they weren't as bright due to the bulb shield inside the housing.  This lead me to the split high/low sealed units that are typically called Truck-Lites.  I researched and selected a similar unit on Amazon.com made by WHDZ: WHDZ 7 Inch Round Led Headlight for Jeep Wrangler Cj Jk Tj Motorcycle Offroad Vehicles.  

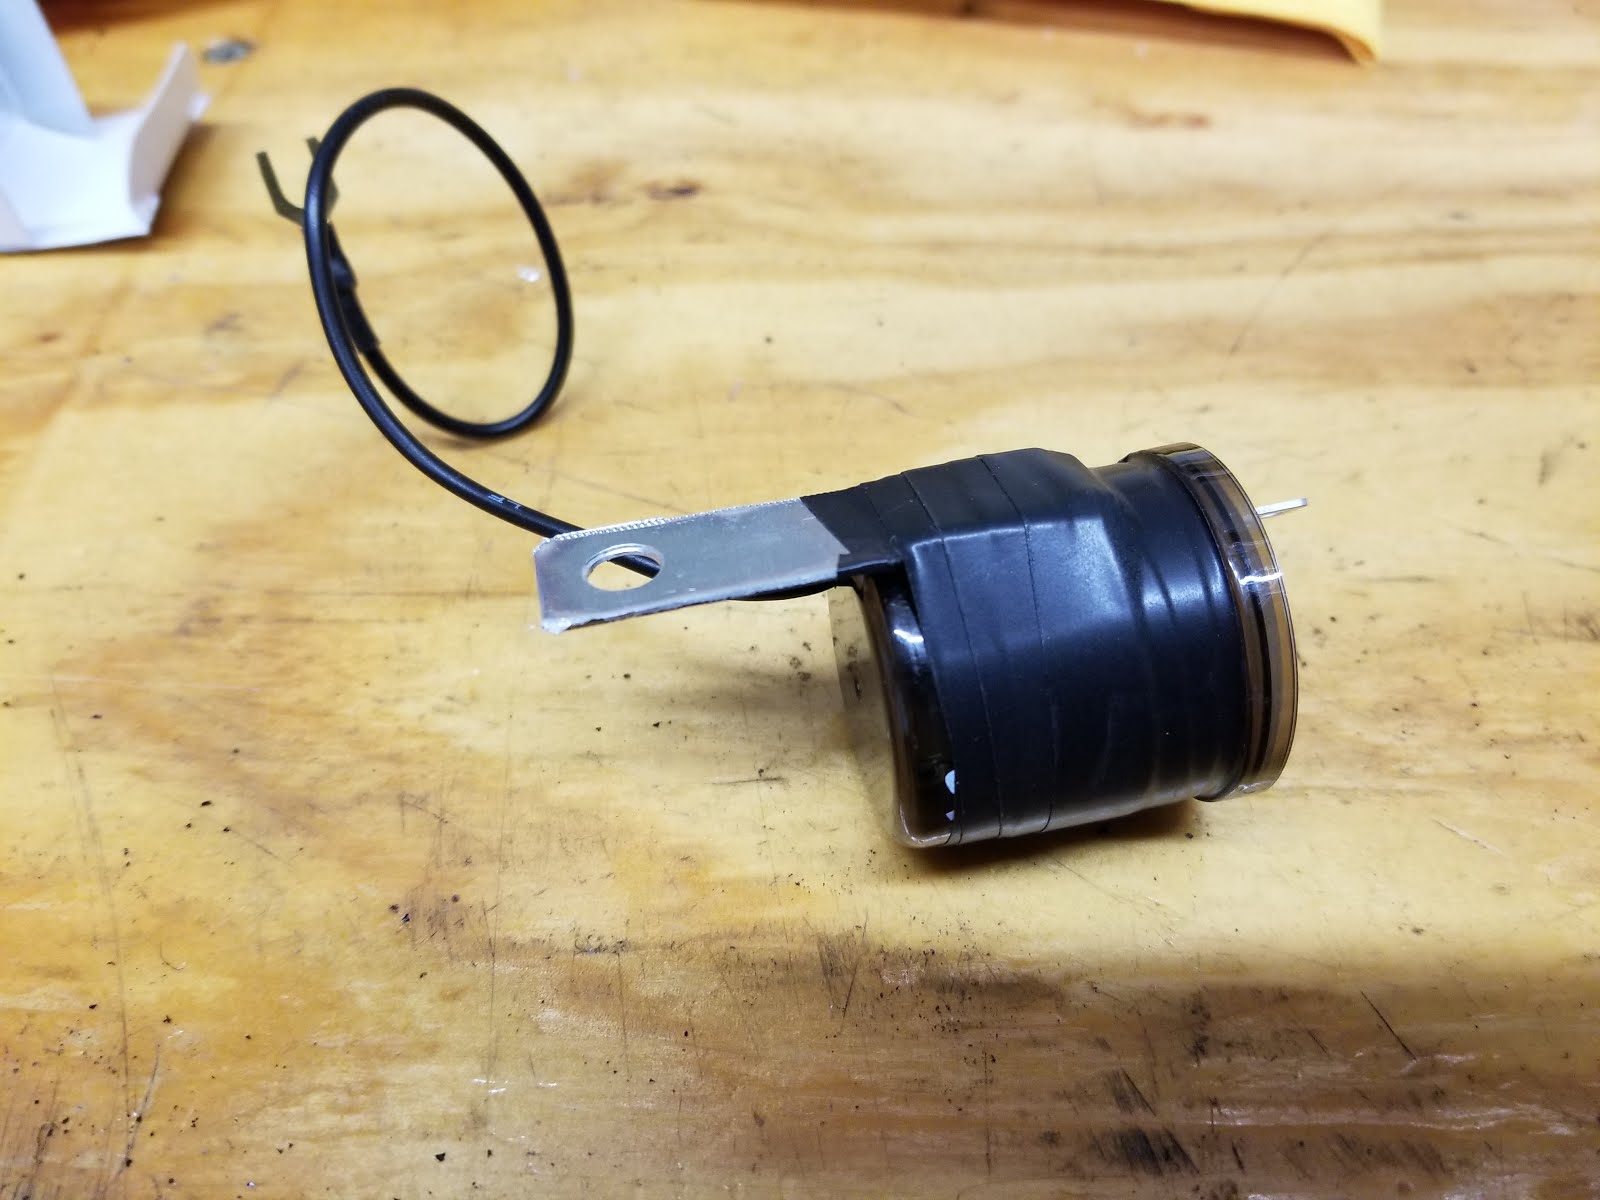
Datsun sent power to the headlights in a way that was not common to US autos: a single 12v+ switched wire is sent to the common terminal while two grounds are wired between the Hi/Lo switch on the column and the remaining two terminals on the bulbs.  For a normal incandescent bulb this would not matter, but for an LED bulb the direction of the current matters and Datsun's reversed setup would require some changes.  While headlight relays are common for 240z's, I couldn't find one for a 280z so I decided to make my own.  I picked up some 14 gauge wire and a set of fused relays for this purpose: ONLINE LED STORE 6 Pack 30A Fuse Relay Switch Harness Set


After removing the existing headlights, buckets, and wiring harnesses, I created a new harness that would control the relays.  This was done by connecting the 12v+ to the coils on both relays, then connecting each of the switched grounds to a separate relay.  I used Delco Weatherpack connectors for one side of my harness and the existing connector to attach to the current headlight wiring.  I replaced the crumbling sheathing with new heat shrink tubing to protect the wires.


Since I only needed one harness to feed the relays, I capped the driver side headlight connection with an old plastic cap.


Next I started working on the relay harness.  I decided that I would ground the headlights on the chassis near the radiator, and that I would pick up the main 12v from the starter lug.  There was some trial and error involved in figuring out the wiring, but I eventually landed on the red/white wire for the trigger coil on the low beams and the red/black wire for the hi beams.  From the relays, the switched side of each is run to two weatherpack connectors, one for each headlight.  Each wire is split at the right length, which is the center support for the lower grill.  Again, long heat shrink tubes were used to protect the wires.


Connections from the relay harness to each headlight were made in a similar manner and run through the headlight buckets.  New grommets were used to protect the wires.


These particular headlights were such a tight fit into the buckets that I had to shave one of the positioning tabs in order to allow the headlight to sit properly into the bucket.


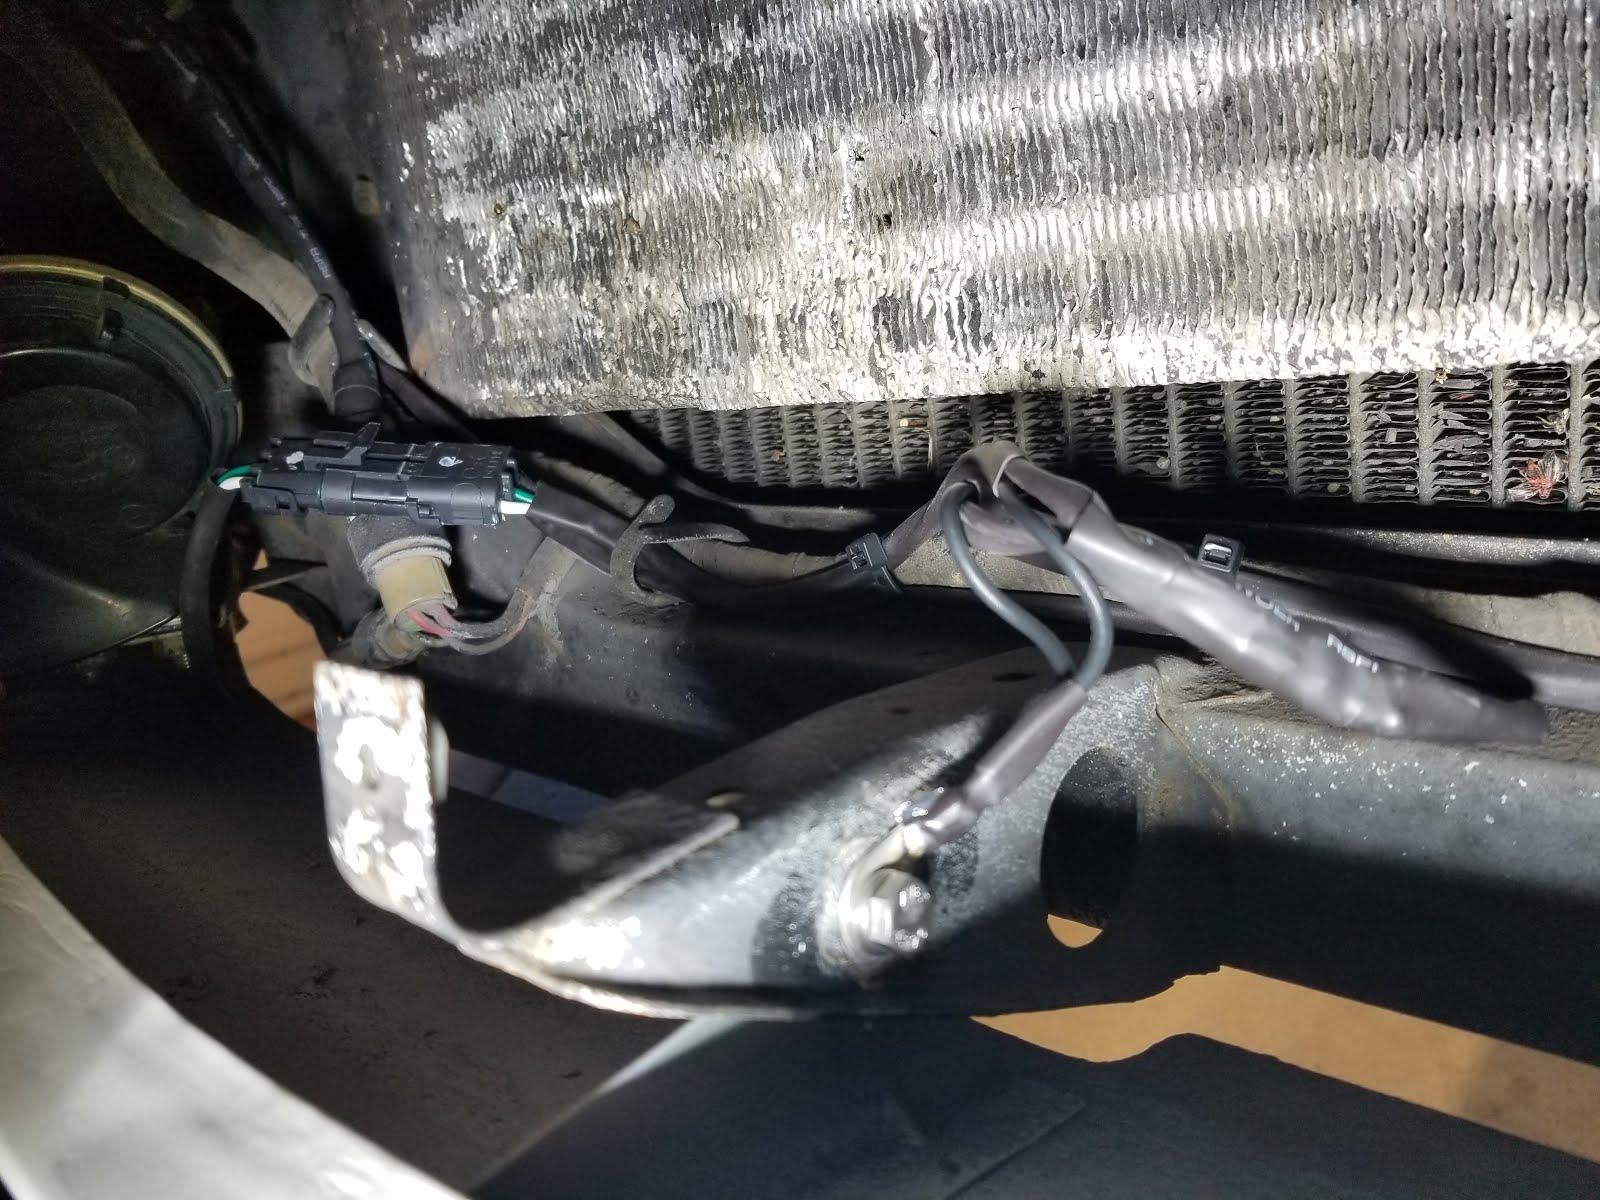
The relays were mounted behind the fusible links using exiting weld nuts and stainless hardware.


The wires were run to the front radiator area on top of the existing wiring running to the same location.


After clearing some bare metal from the front lower grill brace, the ground for the headlights was secured and covered with silicone paste to protect from corrosion.


The headlight assemblies were then returned to their home and the new wiring routed to the corresponding weatherpack connectors.  The headlights protrude from the buckets just a but more than the original units, but it's not enough to be noticeable unless you're looking for it.


Testing of the lights was successful and I can now call my LED conversion complete!  The new headlights are much whiter and brighter than the previous halogen units.

Sunday, December 2, 2018

LEDing the light shine

As I pondered the woes of my blinkers on the 280z, I decided the next course of action to correct my intermittently malfunctioning blinkers should be to reduce the current that is required to flow through the column switch.  Given the aging wiring and alternator, a complete LED bulb conversion would accomplish this current reduction goal.

The side markers, backup lights, and brake lights would be simple swaps.  The turn signals and front parking lamps required a little more work since the OEM flasher modules require a decent amount of current to operate; if there wasn't enough current flowing the blinkers wouldn't blink!  I placed an initial order from Amazon for 1156 and 1157 bulbs; essentially these two types of bulbs will cover the entire conversion.  I also ordered two LED flashers from CEC Industries as their flasher seemed to be the "gold standard" that many used for these conversions.


I have already tackled the interior bulbs previously (LED there be light!Blinded by the light); this post will focus on the outside indicators.

The choice of bulb is critical in such a conversion, and there are plenty out there.  Let me save you some trial and error: if your car has white plastic or no reflectors in the light housing, use LED's with outward facing LED's.  Some LED's (notably Philips 1156 and 1157 bulbs) only contain rearward facing LED's and require a reflector to be as-bright or brighter than standard filament bulbs.  The final parts list that I used for my conversion is as follows:

As previously mentioned, the physical act of swapping the bulbs was simple.  I used 3M Dielectric Silicone Paste on the base of the bulbs to make sure they maintain a solid, corrosion free connection to the sockets.


The LED's were definitely much brighter than the OEM bulbs, but not obnoxiously so.  This side-by-side of the rear taillights shows the difference (the LED bulbs are on the right while the standard filament on the left).


Next up was the turn signals.  Since the OEM flashers would not operate with these low-current bulbs, I had to swap-in the new LED compatible units.  The new units were not difficult to install as the existing connector would fit the new units.  The new flashers did not come with a mounting bracket, so I fashioned one out of a short piece of aluminum.


Both flashers are within close proximity to each other with one being mounted near the hood release and another being on the inside of the firewall near the BOSCH fuel injection controller.  I had trouble accessing the turn signal flasher on the firewall, so I simply mounted both flashers under the dash near the hood release.


In both cases, the mounting point for the flasher was used as the ground for the third wire on the flashers.

With the flashers in-place, the turn signal bulbs could be swapped.  The can see the side-by-side difference in the front parking lights in the below photo (LED bulb on the right).


With the bulbs swapped and the new flashers installed, it was time for a test drive!  As I drove down the road, I noticed that one of the flashers was making an erratic clicking noise, as-if the blinkers were engaged, yet the turn signals were not flashing.  After some "hands-on" detection I isolated the individual flasher that was making the noise: it was the hazard flasher.  The hazard flashers operated as expected, but when the switch was off the flasher was still clicking.  Due to the low-current requirements of these LED flashers, this clicking could only be due to some current leakage through my hazard flasher switch.  After returning home, I confirmed that there was a small voltage present on the switched side of the connector.  I pondered what to do to correct this situation.  One of the logical solutions would be to open the hazard flasher switch and clean it out.  This did not appeal to me since my switch worked, the switch is complex and also controls the turn signals, and they are not cheap.  I decided that I would introduce a hidden switch that also must be closed to operate the hazard flashers.  Since the hazard flashers are only used in exceptional cases the inconvenience of an extra switch would be minor.

I added the switch to the ground wire on the flasher and let the switch bracket act as the ground connection as well.  This switch was mounted on the original flasher mounting location and is easily reached from the driver's seat.


The addition of this switch solved the incessant clicking sound while driving!

I also set out to swap the headlights to LED units, that post is coming soon and will complete my total LED conversion project for the 280z.


Sunday, September 23, 2018

Parking on hStreet

Another hStreet Cars and Coffee gathering was held on September 15th.  A few couldn't make this gathering due to conflicting schedules, but we still had a great time!


As usual, at every cars and coffee event there's that guy who burns rubber on his way out...


No more hinge cringe

One aesthetic item that had bothered me after purchasing my 280z was the seats: they were cloth instead of the factory vinyl.  Since I'm a fan of the stock look, these seats were on my "punch list" of items to address.  Last year, I was finally able to replace the seat foam and covers with factory reproductions (you can read about that here).  While I was able to replace the covers and refinish the hinge mechanisms, I was unable to locate replacements for the missing mechanism covers.  The lack of these covers was obvious (at least to me) every time I opened the doors... 


I always keep an eye on eBay for certain parts, including these covers; recently a pair that looked to be in great shape popped up for a price that I was willing to pay.  The covers were specifically for the 197 and 1978 years, but surely Datsun hadn't changed the seat mechanisms just for two model years, right?  Silly me, I own a 1976 which had several parts (such as the bumpers) that were used for only 2 years, so I should have known better.  I was disappointed to find out that these covers did not fit my car.


This disappointment led me to a focused search to find replacements for my car.  I noticed that Motorsport Auto listed some reproduction covers specifically for the 1972 and 1973 240z.  Having learned my lesson from the later model year covers, I needed to figure out if these would fit.   Much searching yielded no results that would give me the answer I yearned: would these cover fit?  I finally stumbled upon one site that sold used covers.  While they were out of stock, the listing stated that their reconditioned covers would fit 1972-1976 model years.  With that information I decided to take a risk and order the reproduction covers.


The covers looked great.  More importantly, they fit perfectly, with no modification!  Another bit of luck: all but two of those tiny screws that hold the covers in place were still attached to the hinge.  While they were close to M3 x 6mm in size, the threads were a little more coarse than that.  Digging through my box of recycled fasteners surfaced two screws that could be used in non-visible locations.  Those unsightly hinge mechanisms are now no longer visible!


Sunday, August 26, 2018

This problem is starting to bug me

Well, I *thought* I had my intermittent starting issues resolved with the new ignition relay.  As my father and I were leaving from our breakfast stop on the way to the Wilson County Fair, my 280z wouldn't start!  I heard the ignition relay clicking, so I knew that wasn't the issue.  I wiggled the solenoid actuating wire and the car started again.  

To see if this wire is the culprit, I decided to replace the terminal with a newer, tighter spade.  I began by cutting the old connector from the actuating wire.


I then attached a new female end, both crimping and soldering the terminal to the wire (I will ALWAYS solder things like this to ensure a solid connection).


After coating the new connector as well as the connector on the solenoid with 3M Dielectric Silicone Grease for corrosion protection, I reinstalled the wire.  While I was in the area, I cleaned up the 12v lug from the battery along with the connecting post.  Applying more of the Dielectric grease and a new lock washer and nut, I returned all wires to their proper home.  Time will tell if this will be the solution to my intermittent starting woes.


The battle of the blinker

Once again, the right blinker stopped working in the 280z.  I have a plan to replace the original turn signal switch with a DPDT toggle switch, but I decided to give the current switch one more chance.  I pulled the unit off the column one more time and took a look.


As I moved the blinker lever back and forth while watching the switch, I realized that the lever was not moving the switch fully into right-turn position.  As I examined things closer, there were two factors preventing full movement:
  1. There is a small coil spring that is used to apply pressure to the return tangs.  The tangs limit the movement of the switch.  I bent the ends of the springs to allow the lever to sweep fully through the range of travel.

  2. The switch housing itself wasn't centered. After returning the switch to the assembly, I carefully bent the housing towards center.
If my theory is correct, the lack of a solid engagement of the right turn due to the above issues was causing arcing on the switch and causing the contacts to dirty quickly.  A few drives on a hot day should tell me if I was right.  If not, I will implement plan "B" as mentioned at the beginning of this post...

Fair Weather Day

The 280z made another appearance in the Wilson County Fair this year.  As an added bonus, my father brought one of the cars from his collection: a 1987 Porsche Carerra convertible.  Both cars received many comments from onlookers and admirers.


Sunday, July 29, 2018

Cars, Coffee, Coworkers, Friends

It's always fun getting together with fellow gear-heads to see what types of vehicles interest them and hear the stories behind their acquisition and restoration.  Last Saturday a few of us from work came together for our first Cars and Coffee meetup.  

Our small group brought together vehicles of Japanese, British and German heritage.  More importantly, this day saw coworkers sharing with one another a common interest outside of the workplace.